Add a New Transcoding Preset
By default, four transcoding presets have been defined for Vbrick Rev when your system is installed. These four presets have been carefully tested and authenticated and are the recommended settings to use for most of your transcoding needs. Should you decide you need additional transcoding presets, you may easily define them. It is recommended that you work with Vbrick Professional Services to define your own settings.
1. Navigate to Admin> Media Settings > Transcoding > Add Preset button.
2. Complete each section of the form as described below..
Tip: You do not have to start adding a preset from scratch if a default preset has most of the settings you need. Use the Duplicate Preset icon in the Actions column to copy the preset and then edit the parameters you need. More importantly, the format of the original preset is preserved. |
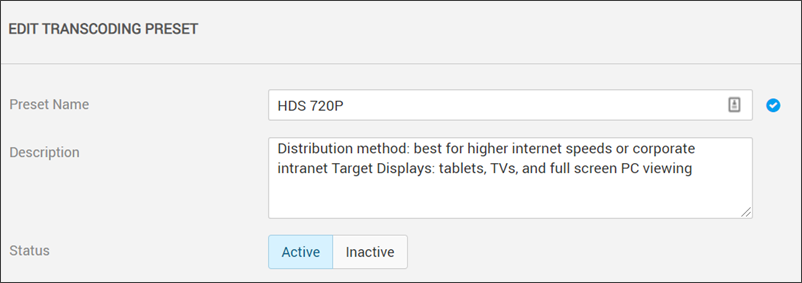
Transcoding Name and Description

Field/Function | Description |
Preset Name | Choose a descriptive name for the preset. |
Description | A meaningful description of what the preset is intended to do. |
Status | Status of the preset. Active is the default. |
Video Settings
Field/Function | Description |
Transcoding Output Type | The type of output that will be produced. For suggestions on best practices, see: Transcoding Preset Default Settings |
Transcoding Profile | Profiles control which encoding techniques are used to produce the encoded output. The Baseline profile should be selected to produce a file that will play on devices with minimal CPU power and memory whereas the High profile may be used to produce output that will play using more powerful platforms (most computers built in the last five years will play output produced using the High profile). Note that Baseline, Main, and High profiles are only applicable to H.264 outputs. |
Codec | This value is automatically set based on the Transcoding Output Type that is selected. |
Prevent Upscale | If enabled, Rev will only transcode using the preset if the input file’s resolution is greater than or equal to the resolution specified for H.264 and WM outputs. For HLS, Rev will transcode to all resolutions in the preset that are less than or equal to the resolution of the input file. If disabled, Rev will transcode to the preset regardless of the input file’s resolution for H.264 and WM. For HLS, Rev will transcode to all resolutions specified in the preset. If the input video’s resolution is less than that indicated by the preset, the video will be scaled up to meet the dimensions specified. The recommended best practice is to disable this attribute for the lowest resolution preset. This will ensure that all files are being transcoded to at least one preset with higher resolution files being generated as well if the input file is a higher quality file. |
Key Frame Interval | Specifies the number of seconds between key frames. |
Frame Rate (FPS) | Specifies the number of frames per second for the transcoded video. This may be explicitly set or it can be left as the same as the incoming video by selecting “source”. |
Aspect Ratio | Specifies the aspect ratio of the output frame (proportional relationship between the width and height of the output video and typically expressed in 4:3 and 16:9 in video); choose Source to match the aspect ratio and pixel aspect ratio of the source file being transcoded. |
Bitrate Type | Constant versus Variable. Refers to amount of output data that is consumed per time segment. |
Dimensions and Quality | Select the target width, height, and bitrate. |
Audio Settings
Field/Function | Description |
Codec | This value is automatically set based on the Transcoding Output Type that is selected. |
Bitrate | Specifies the bitrate (kilobits per second) of the audio. The higher the bitrate, the more space it will take. |
Sample Rate (kHz) | Specifies the sample rate of the audio. Current professional/consumer standards for recording and playback are 128 and 48 kHz. |